Rob’s Full-Body Home Workout
Working out from home can be one of the most satisfying things about fitness. If you think about it, you don’t have to spend extra time prepping and driving to a fitness center — not to mention the crowds and waiting for your favorite machine to open up. Combining a few pieces of equipment with added cardio will lead to more calories burned even after you’re finished working out.
It doesn’t matter if you’re just starting out on your fitness path or are a fitness pro, the focus of today’s powerful home workout is to put your cardiovascular system and muscle strength to the test. The best part is that you don’t need much space or time, just a few essential pieces of equipment to get you to break a sweat. Try this full-body workout at home to increase your metabolic rate and burn excess calories.
The Warm-Up
It’s important to put your joints in motion and prep your body for activity — which doesn’t have to be extensive. A simple five-minute stretch to get blood flow and heart rate pumping is all you need. One way to get a good stretch is to perform things like jumping jacks, push-ups, or try your skills by using a jump rope and increase your heart rate. Stretch out your arms and shoulders, hamstrings and quads, and do a rotation of neck stretches to keep everything loose and limber.
For your mobility work (and intense workouts) using resistance bands with varying weight levels is worth the investment. For example, you can anchor a resistance band of your level/weight choice to a pole or sturdy object and push against it with your arm to stretch out your shoulders and chest. Simple moves like this will help prevent strains and injury while prepping your body for what’s ahead.
Incorporating Kettlebells
Kettlebells are one of the most underrated pieces of equipment. There are a variety of benefits of incorporating kettlebells into your workout, and I’ll demonstrate a few for you today. One of my top workouts with kettlebells is the kettlebell swing which you can see in the video below. Using a kettlebell for moves like the swing, row, or press delivers intensity and burns calories fast as you end up using a lot of muscle groups and increasing your heart rate.
Kettlebell Swings and Rows
5 sets of 10 to 12 reps
Performing kettlebell swings will improve your stability and work a variety of muscle groups while engaging your hips, glutes, and hamstrings. For the upper body, kettlebell swings work your shoulders and lats, giving you strength and power. Today’s workout will incorporate kettlebell swings with kettlebell single-arm rows. The kettlebell row will help you lift more and perform better by strengthening your back, shoulders, upper arms, and core.
In the video below, I show a step-by-step on how to perform this exercise. Try performing this circuit 5 times for 10 to 12 reps.
Kettlebell Shoulder Press and Swing
5 sets of 12 reps
Moving into the next workout, the focus is mainly on the shoulders, while relying on your core and legs for stability and power. The single-arm kettlebell shoulder press, combined with single-arm kettlebell swing adds extra resistance to the core muscles, causing them to work harder as you perform the eccentric movements. These movements also put a greater demand on your shoulder muscles causing them to stabilize throughout the movement.
Check out the video below for a step-by-step on how to perform this exercise. Try performing this circuit 5 times for 12 reps.
Proper Training for Shredded Abs
Your core should be pretty engaged by now, having done the exercise above. But now it’s time to really focus on the abs. Everyone wants to have a killer core, but admittedly it can be a struggle. One of the biggest reasons you might not see results quickly is because you’re performing sit-ups without engaging your core for a full range of motion.
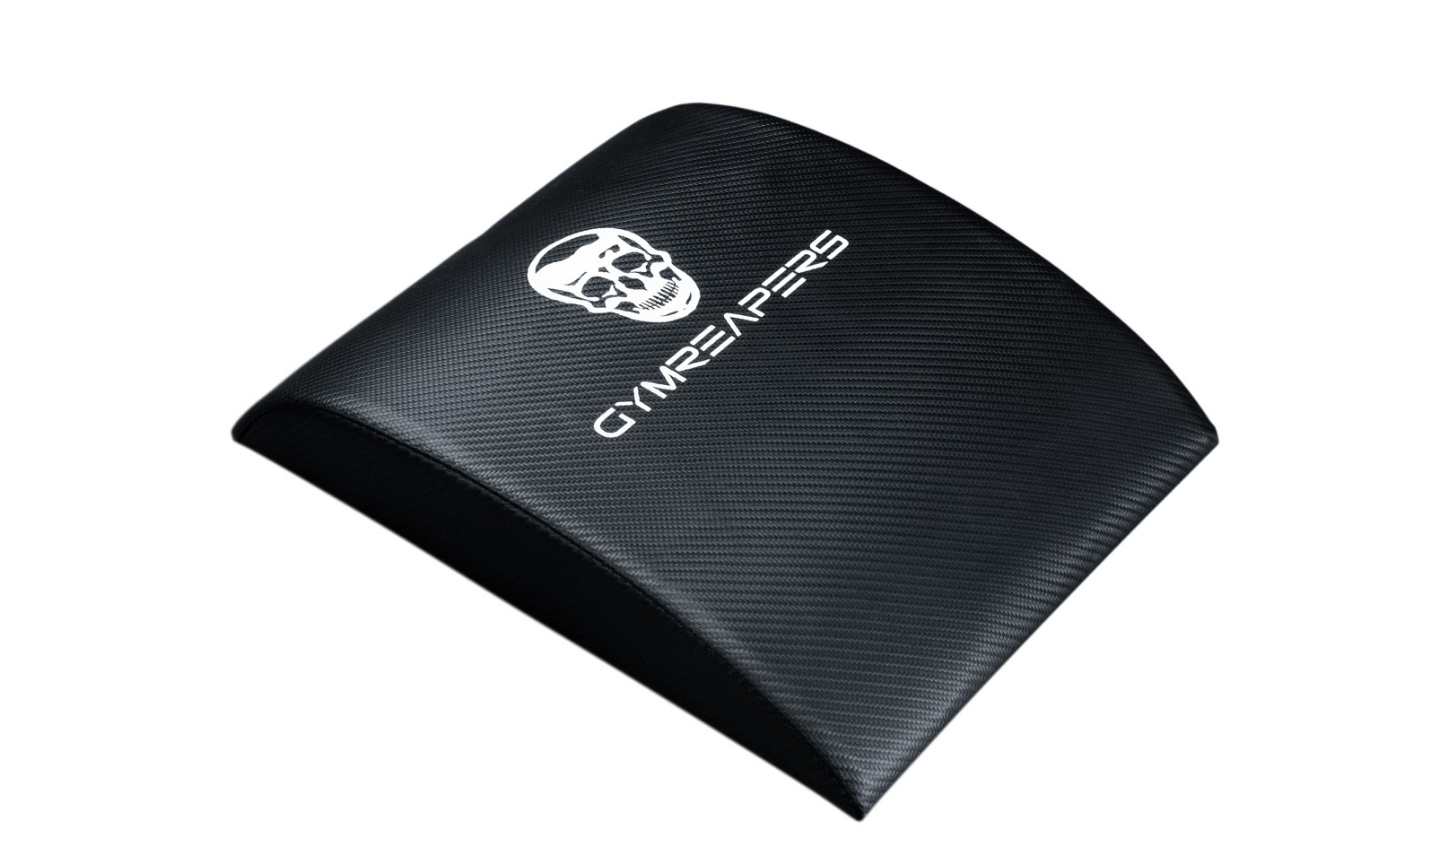
Using an ab mat can help with that, as well as provide core stabilization, and alleviate tension on your hip flexors. Ab mats are used by CrossFit athletes, professional athletes, and everyday fitness enthusiasts.
An ab mat is lightweight and easy to use. Once you’re in the standard crunch position, slide the mat against the arch of your spine, lay back against it, and bring your feet together. This ensures that you open up your hip flexors and engage your abdomen, avoiding the use of your hips during a sit-up. Lastly, perform the sit-up according to your fitness level and difficulty.
Sit-Ups
4 sets of 12 reps
Perform the traditional sit up move, but you can mix up your difficulty level based on where your hand placement is. For example, intermediate difficulty is resting your hands on your shoulders. Take it up a notch for expert difficulty by placing your arms over your head as you sit up.
Side Crunches
4 sets of 12 reps
Side crunches work just like if you’re standing upright and doing a crunch with a cable machine. Instead of being upright though, you’ll lay sideways on an ab mat and perform a side crunch to target your obliques. Be sure your focus is entirely on the core and you’re not bobbing your neck/head up and down.
Situp Twists
4 sets of 8 reps (each side)
The situp twists are a good way to add more intensity and really feel the burn. As you perform a sit-up, twist to one side, then another, giving your obliques the stretch and range it needs. The support from the ab mat will guide your core. Be sure to elevate your feed for added burn.
Reverse Crunches
4 sets of 12 reps
For the reverse crunch move, your legs will help you perform the crunch motion. You will lie back in the standard crunch position and be guided by the ab mat. Next, elevate your legs (or knees for beginners) and perform a thrust motion upward (with your lower body), allowing the core to engage.
Build Stronger Arms and Legs
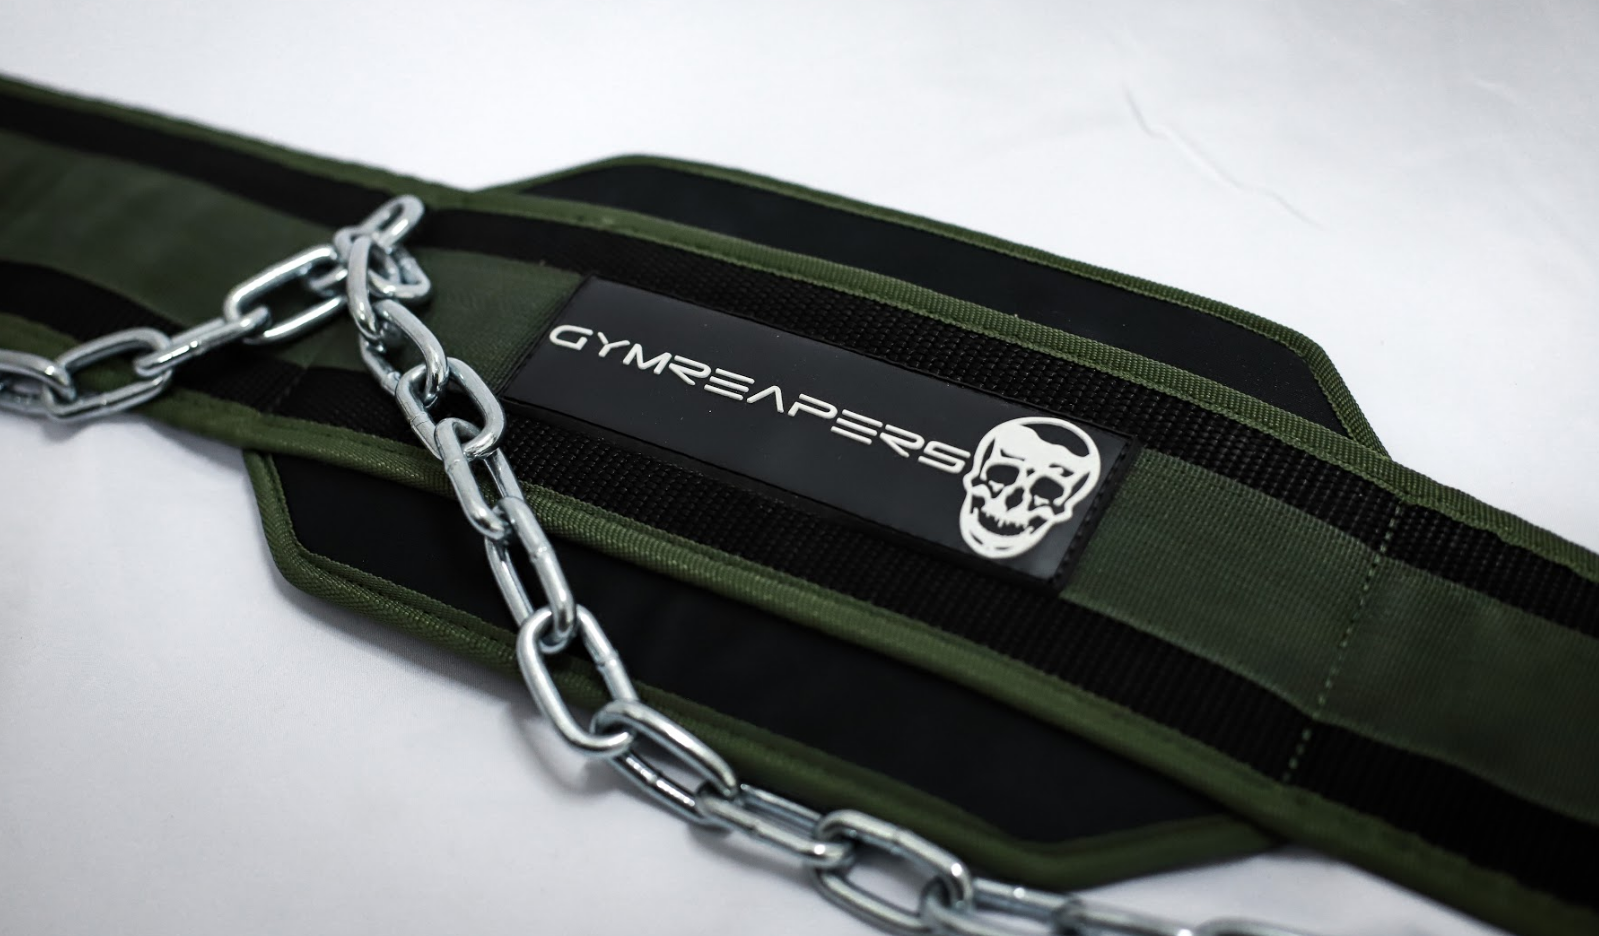
You may have heard of or seen a dip belt, but did you know that it can be used for lower and upper body movements? Traditional dips are done using your own body weight, but once it becomes easy to lift yourself, using a dip belt will help provide added weight to fuel your workout and muscle definition.
A dip belt works like a traditional weightlifting belt, wrapping around your lower torso. The key difference is that it has a component (either a chain or strap) around the front to attach your desired weight. For your home workout, you will need a free weight or dumbbell so you can attach it to the metal chain.
A dip belt is useful in developing strength and performance by strengthening the triceps muscles and allows a greater range of motion and better overhead stability. In addition to its benefits for the upper body, a dip belt can also be used to train legs and glutes. For example, today’s workout will feature dip belt squats which help isolate the quads so you don’t have to be worried about the discomfort of a barbell. This move is especially important for those that have an upper body strain or injury, but still want to train the quads.
Weighted Chin Ups
4 sets of 12 reps
The chin ups exercise should be on everyone’s list for building a bigger back. On a pull up bar, use your bodyweight to pull yourself up by engaging your back muscles to control your upward motion. For added resistance, use a dip belt with an adequate amount of weight supported by the steel chain and you’ll get a more defined back, guaranteed.
Weighted Dips
4 sets of 12 reps
It’s worth mentioning that with proper form, the sheer benefits of a good weighted dip workout include improved strength and definition in your triceps, chest, and shoulders. Performing dip movements is generally easier on the joints since the hands are in a fixed position, making the body propel and do the work. To perform a dip, use two sturdy parallel bars or railings at home as you bend your arm at the elbow and push up with your upper body.
Hip Belt Squats
4 sets of 12 reps
Lastly, let’s focus more on the lower-body. Some may have overlooked this move, but doing the dip belt squat is anything but forgettable. It’s not meant to be a replacement for a traditional barbell squat, but it is effective to do if you’re avoiding using any part of the upper body (due to an injury or strain).
This exercise will focus on your quads, so be sure you stretch. To perform a squat with a dip belt, first you’ll need two boxes or an elevated platform to allow the free weight to hang loose. Once elevated and in proper alignment/form, simply load the weight and crouch down and back up to complete the squat.
Cooling Down
Today’s powerful home workout should put your cardiovascular system and muscle strength to the test, no matter your fitness level. Again, the best part of the workout is that you don’t need much space or time. If you’ll be working out from home regularly, consider investing in the essential pieces of equipment mentioned above to help you break a sweat, increase your metabolic rate, and burn excess calories. That’s all it takes! Remember to drink plenty of water during and after this workout.